Table of Contents
ToggleSimplify Financial Tracking: NetSuite's Steps to Landed Cost Item Creation.
Explore SuitePedia’s comprehensive guidance on setting up landed cost items seamlessly within NetSuite. Learn step-by-step methods to effectively manage and track expenses, enhancing financial control for your business operations.
How to create a Landed Cost Item?
To count a charge on a vendor bill as a landed cost, you must select an item on the bill. If you input a bill that lacks an association with an inventory item, it is imperative to link it to a created landed cost item. An example of a landed cost item is the item “Freight.”
For example, you use a freight company to deliver inventory items you need. With every delivery, you get invoiced twice. The first invoice comes from the supplier for the products, while the second one is from the shipping company, focusing solely on the transportation cost.
When inputting the invoice, it’s essential to link the freight charge to the product as a landed expense. Since the freight bill is not associated with an inventory item, you must create a landed cost item record for Freight.
- Landed Cost items should be named appropriately based on the type of charge, such as landed cost categories like Insurance and Handling.
- The expense account noted should match the corresponding landed cost category or be a contra account shown in the same section of the Income Statement. Ultimately, this expense account is zeroed due to the following General Ledger impact:
PO Receipt: CR – Expense Account – The value in the landed cost category
Separate Vendor Bill: DB – Expense Account or Contra – Amount received from carrier for freight costs
To create a landed cost item:
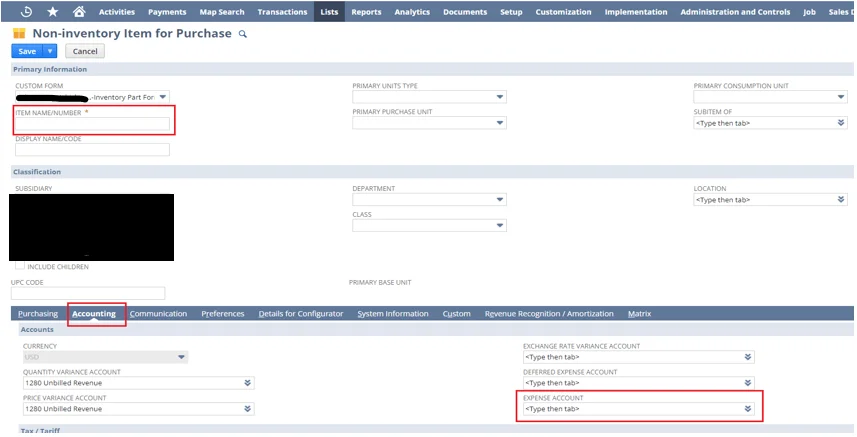
1. Fill out additional details on the item record. Go to Lists > Accounting > Items > New.
2. Click the item type you want to create to track the landed cost.
3. In the Item Name/Number field, enter a unique name for the landed cost expense, such as Freight.
4. On the Accounting subtab, in the Expense Account field, select the account on which you want to record freight and other such charges.
5. Click Save.
When you create a bill, you can select the landed cost item and track the expense on the bill as a landed cost.