Table of Contents
ToggleTake Control Of Your Finances In NetSuite: A Step-By-Step Guide To Setting Up Item Records For Landed Cost.
How to Set up an Item Record for Landed Cost?
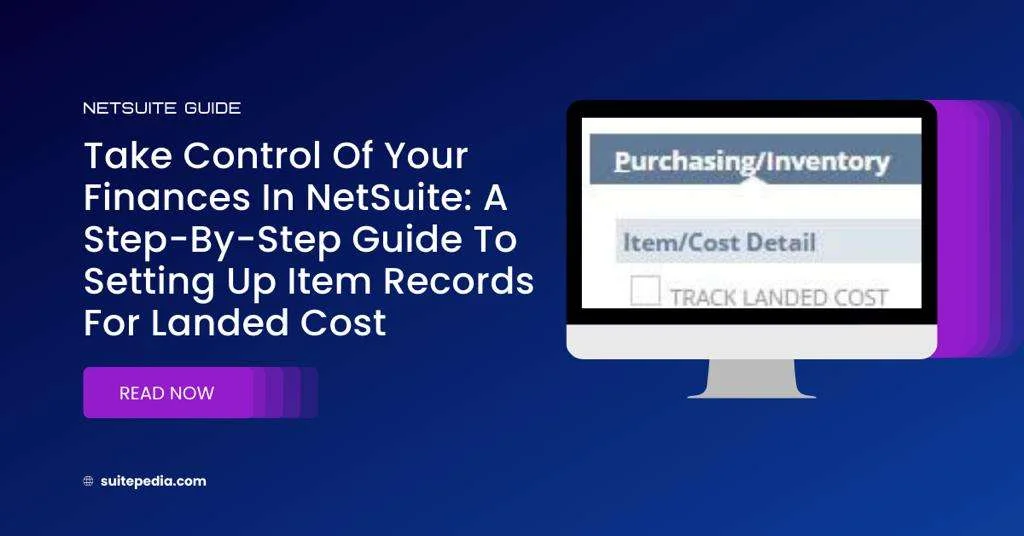
For each item that you want to track landed costs, you must identify it on the item record. After you mark an item record to Track Landed Cost, you can enter landed cost information on item receipts and bills that include the item.
Note
Items not designated for landed cost tracking won’t factor into the landed cost calculations. Consequently, no amounts will be assigned to them on the associated item receipt or supplier invoice.
To configure an item record for landed cost:
1. Navigate to Lists > Accounting > Items.
2. Select the ‘Edit’ option beside the item you wish to monitor for landed costs.
You can track landed cost for inventory and assembly items, including serialized and lot numbered items
3. On the Purchasing/Inventory subtab, check the Track Landed Cost box.

4. Click Save.
Alternatively, the Track Landed Cost field can be updated for many items at one time by using one of the following methods:
- Use Editing when viewing the items list (Using Inline Editing).
- Use the Mass Update feature.


