How to Navigate Automated Vendor Billing and Payments in NetSuite?
The power of automation in streamlining your procurement finances. Learn how to effortlessly generate vendor bills and process payments, optimizing efficiency in your financial operations with NetSuite. Your guide to mastering automation, brought to you by SuitePedia.

Automatically generate vendor bills and their payment
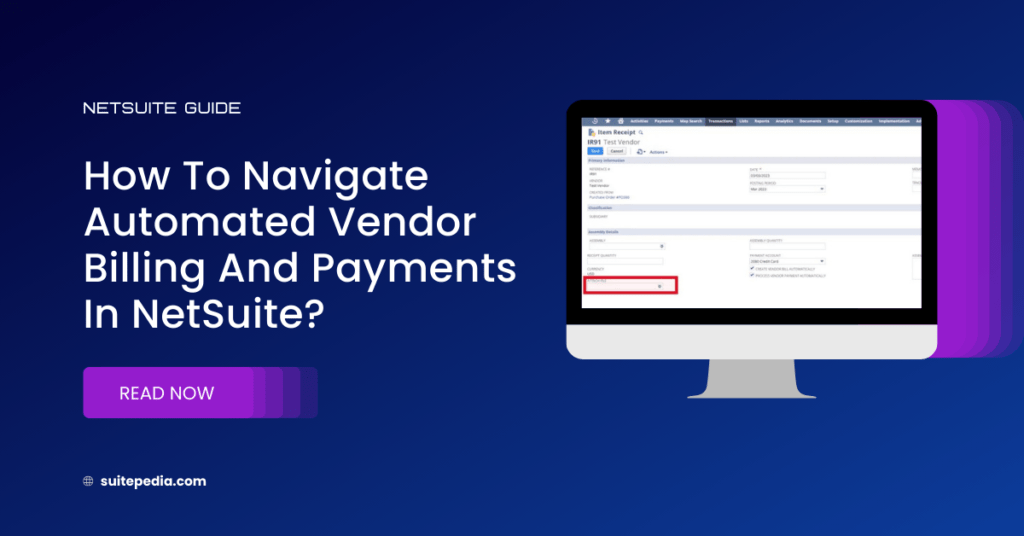
Users can automatically generate a vendor bill and its payment against an Item Receipt.
They need to select the account that will be affected by the vendor bill transaction and need to check the below checkboxes and save the transaction:
- Create Vendor Bill automatically.
- Process Vendor Payment automatically

- You can also attach files to the Item Receipt.

Note
In the Item details, the “Generate Accruals” checkbox should be checked to have a GL impact on the “Received but not Invoiced” register.
This transaction will be usable for those cases in which payment will be made through a credit card. That’s why, the “Payment Account” dropdown will show credit card accounts only.
After saving this transaction, the User can see the Vendor bill and the Vendor Payment under Custom subtab.
Note
Always refer to the official NetSuite documentation for detailed and specific guidance based on your NetSuite version. Additionally, you may want to involve your NetSuite administrator or seek assistance from NetSuite support for any specific challenges you encounter during the setup process.
You can also read: How To Process The Requisition In NetSuite?
