Maximizing Efficiency: A Guide to Bulk Lead Upload in NetSuite
Master NetSuite’s Bulk Lead Upload effortlessly with SuitePedia. Learn the streamlined process from CSV file selection to field mapping and execution. This guide covers advanced options, including handling multiple points of contacts (POCs) for a single lead. Discover how to view and manage imported records in NetSuite, optimizing lead management efficiency and leveraging NetSuite’s capabilities.
BULK LEAD UPLOAD PROCESS
This document will guide you on how to upload bulk leads in NetSuite even if the leads have multiple contacts linked to a single lead record.
How to create a Lead in NetSuite?
To start with this, please create a list of all the leads with the contacts if any. The file should be in CSV format only. We can only update those fields that are available on a lead form.
Note The user needs to add the exact values of the dropdown fields in their Excel to map them in NetSuite. For Example, the values of the NAICS code in the user’s Excel should be exactly the same as the NAICS codes in NetSuite because the NAICS code is a dropdown field.
Please Note: The user needs to add the exact values of the dropdown fields in their Excel to map them in NetSuite. For Example, the values of the NAICS code in the user’s Excel should be exactly the same as the NAICS codes in NetSuite because the NAICS code is a dropdown field.
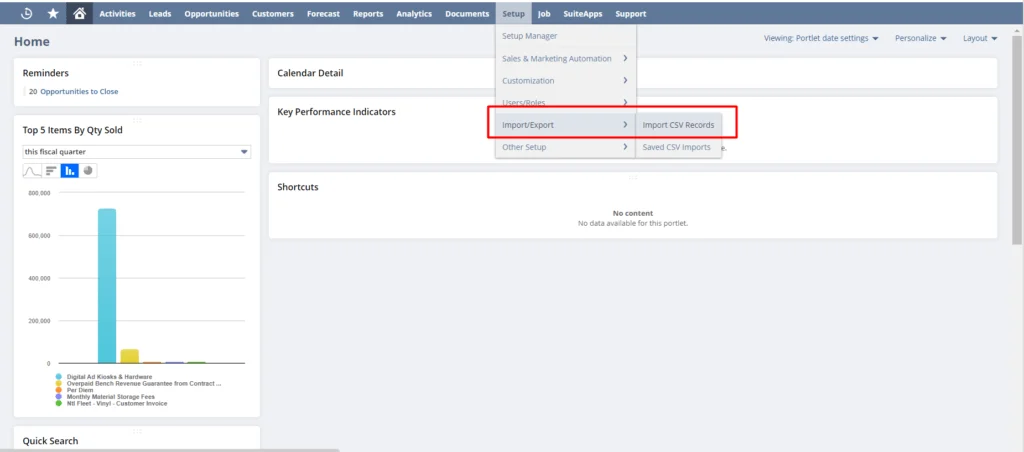
Path – Setup>> Import/Export>> Import CSV Records
Bulk-Lead
Steps:
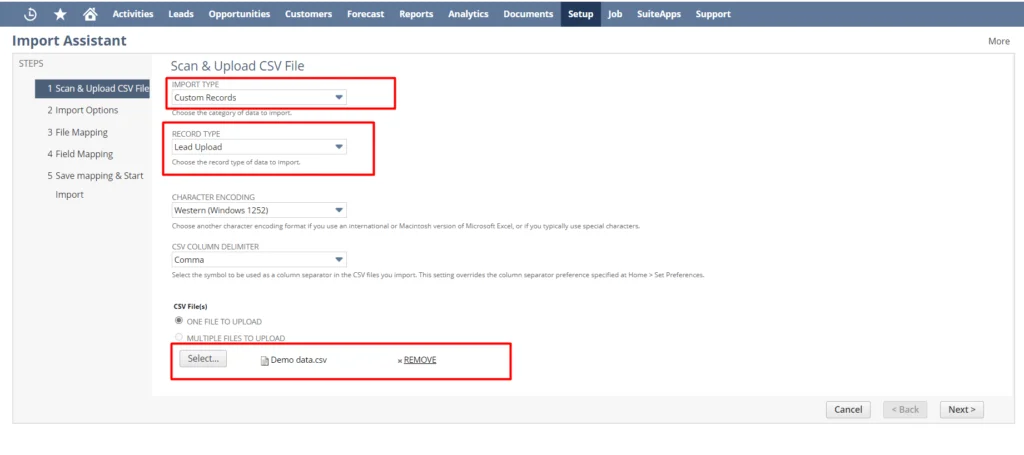
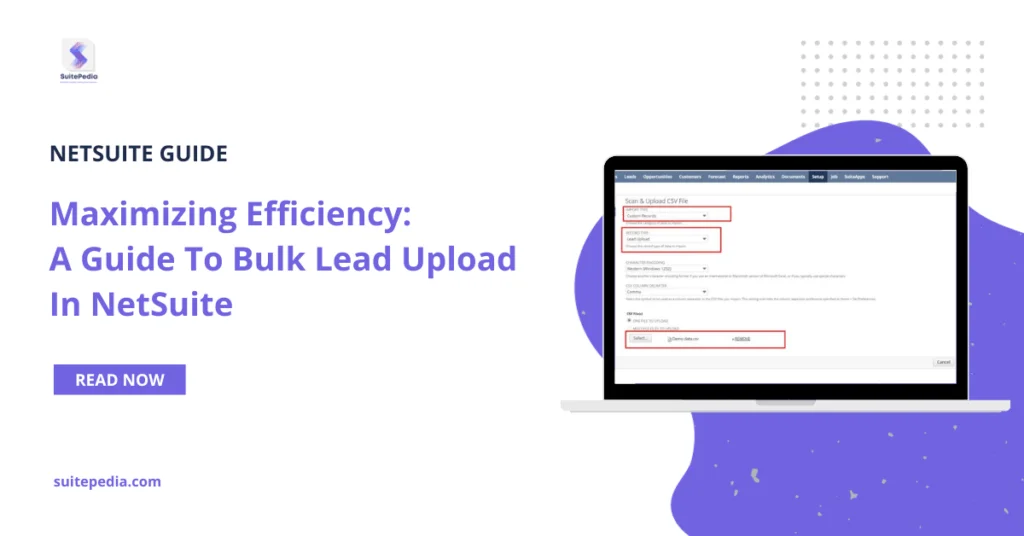
1. Scan & Upload CSV Files
Select Custom Records in the Import Type dropdown.
Select Lead Upload in the Record Type dropdown.
Click on Select at the bottom of the screen.
Upload the File in CSV format only.
Bulk-Lead-image-2
Post file selection, click on the Next button to go to the next step.
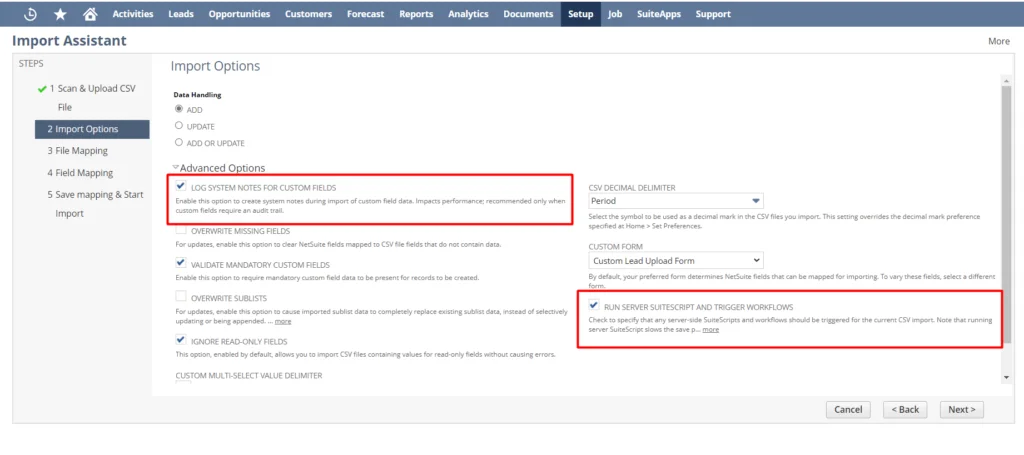
2. Import Options
Click on Advanced Options.
Tick checkbox – LOG SYSTEM NOTES FOR CUSTOM FIELDS
Tick Checkbox – RUN SERVER SUITESCRIPT AND TRIGGER WORKFLOWS
Bulk-Lead-image-3
Click on the Next button to go to the next step.
3. File Mapping –
Users do not need to use this step. They will be automatically moved to the next step.
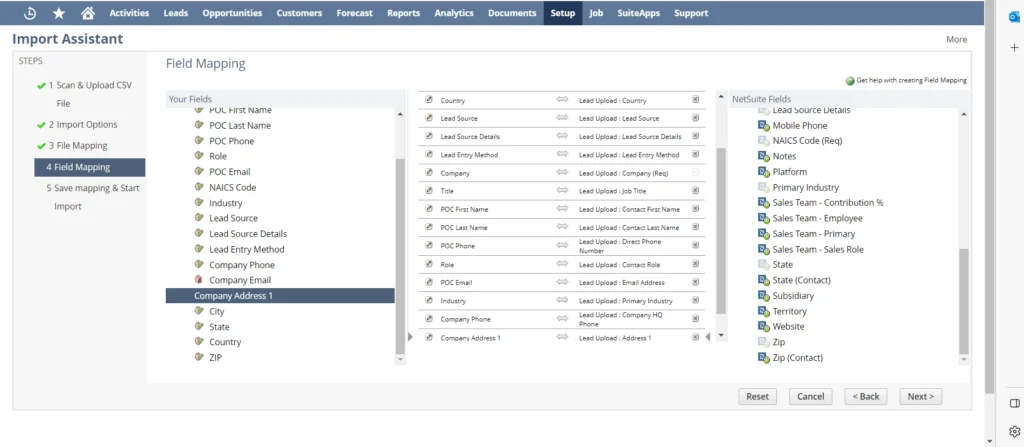
4. Field Mapping-
Map your file fields to the field of the Lead form. The system will automatically fetch the fields if the name of the fields is similar.
Check whether the system has fetched the correct fields of your file to the Lead form fields.
For Mapping, select fields from your file on the left and then map the Lead form fields showing on the right.
Bulk-Lead-image-4
5. Save mapping and Start Import
Provide the Import Map Name to save this mapping.
Provide a Description for the mapping. (This is an optional field)
Provide ID for the mapping. (This is an optional field)
Click on “Save and Run”.
Bulk-Lead-image-5
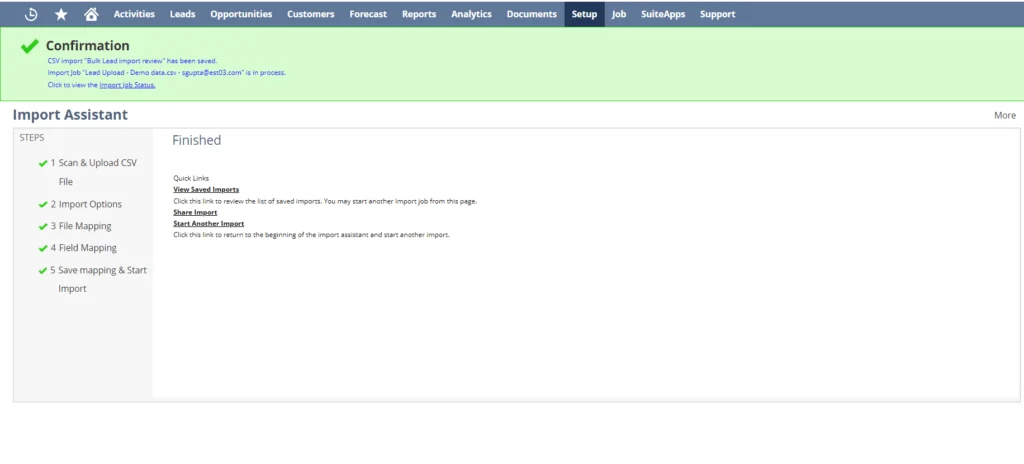
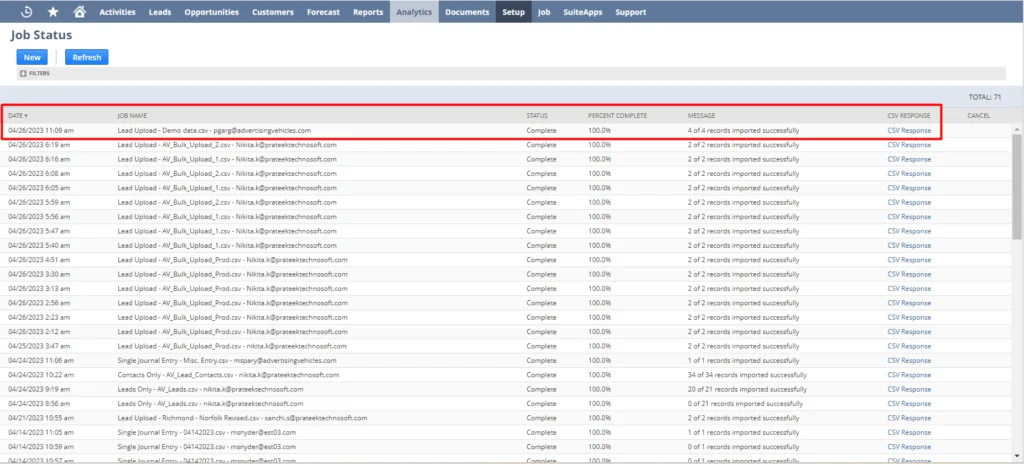
Once saved, the user can see the progress of the import by clicking on “Import Job Status”. Once the ‘Percent Complete’ column shows 100%, that means all of the records have been uploaded.
Bulk-Lead-image-6
To view the Bulk Lead Upload records, please follow the below path: Leads>> Relationships>> Bulk Lead Upload. This will show all the uploaded records.
Bulk-Lead-image-7
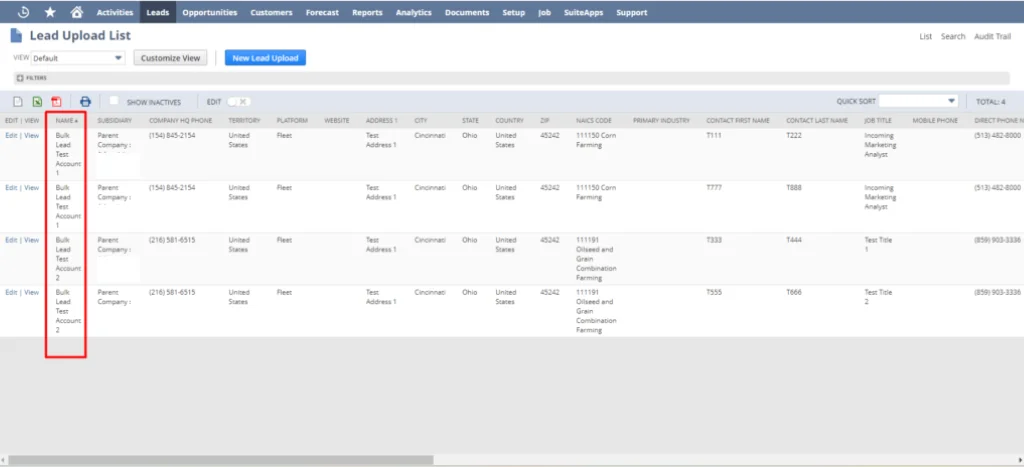
Users can view the imported results in the Lead Upload List:
Bulk-Lead-image-8
In case of multiple POCs of a single lead record, a script needs to be implemented to merge the multiple rows of the CSV in order to create a single lead record with the multiple POCs rows.
Users then need to run a script. It will help them to merge the duplicate records of the leads which have multiple POCs linked to a single lead.
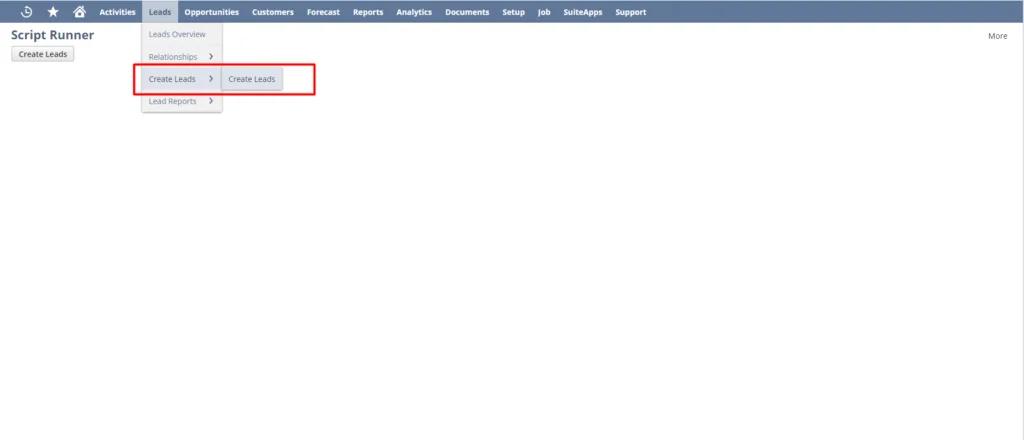
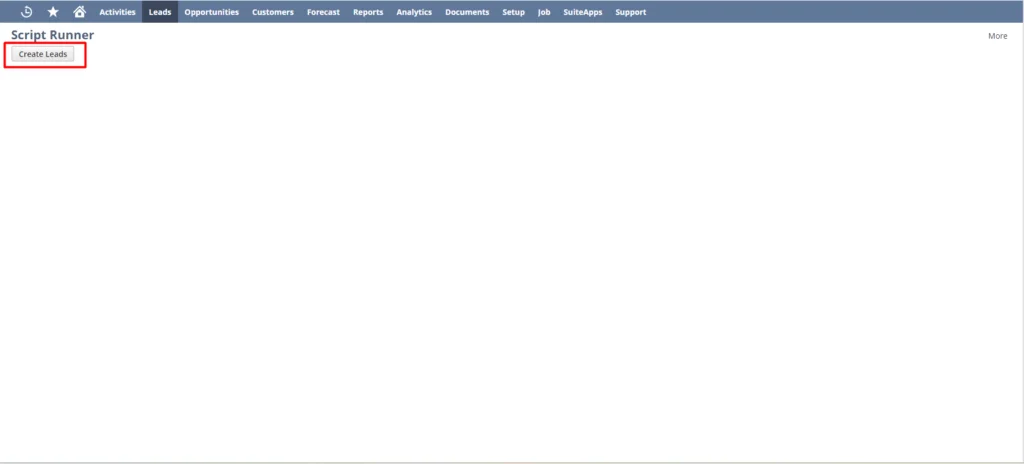
To run the script, please follow the below path: Leads>> Create Leads>> Create Leads
Bulk-Lead-image-9
Click on the “Create Leads” button on the screen to run the script
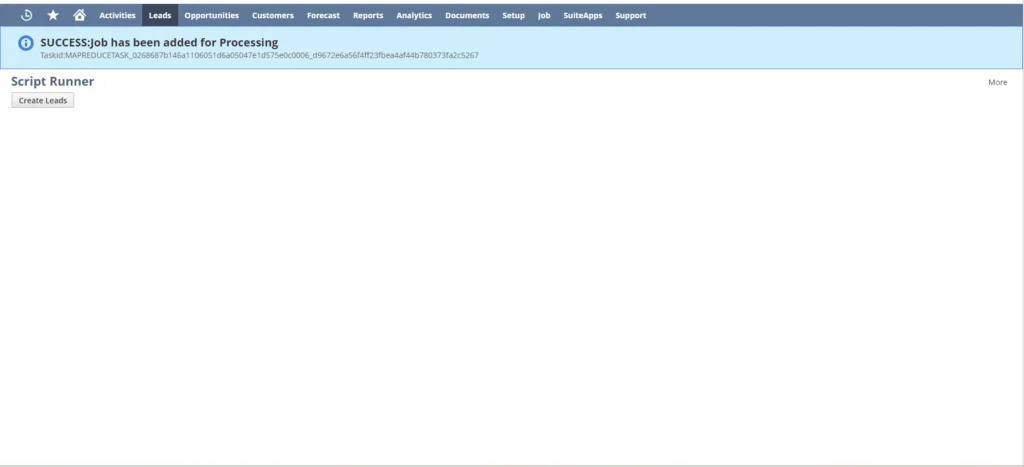
Bulk-Lead-image-10
Once the user clicks this button, it will show the results of the initiated script.
Bulk-Lead-image-11
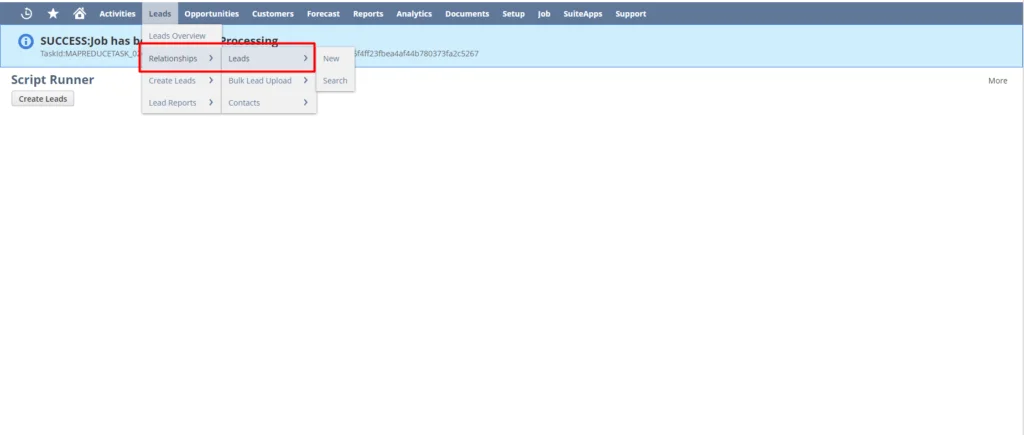
To view the final results in the Leads list, please follow the below path: Leads>> Relationships>> Leads. Please wait for a few minutes to run the script first.
Bulk-Lead-image-12
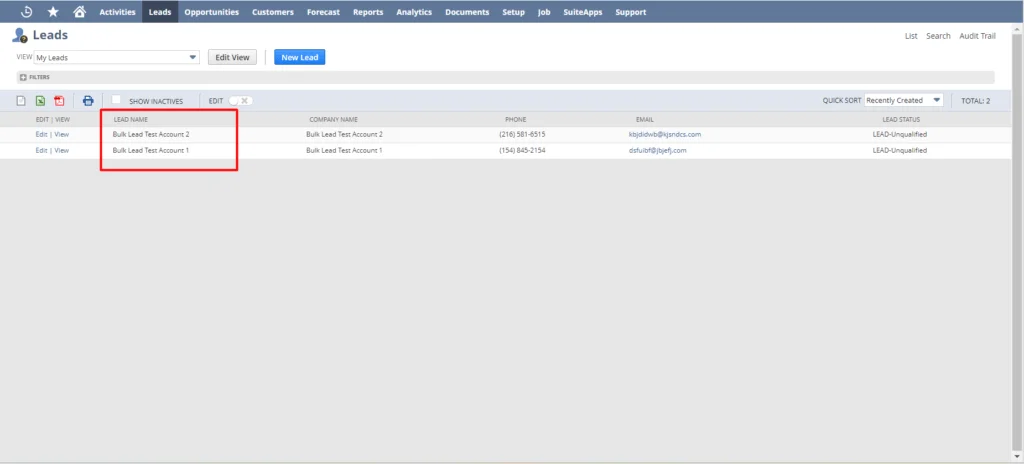
This will show the unique entries of every lead and all the POCs will link to their respective leads.
Bulk-Lead-image-13
Note Always refer to the official NetSuite documentation for detailed and specific guidance based on your NetSuite version. Additionally, you may want to involve your NetSuite administrator or seek assistance from NetSuite support for any specific challenges you encounter during the setup process.